PVC Direction
For flexible sticker and label applications where surface, handling, and appearance need review.

StikTec sticker printing guide
Die-cutting in custom sticker printing is the process of cutting a printed sticker or label into a defined finished shape. A die-cut sticker is cut through both the printed material and its backing, so the entire piece follows the outline of a logo, illustration, seal, badge, product label, or custom contour.
It is used for branded stickers, packaging labels, product information, promotional pieces, roll labels, retail inserts, and identification labels. The visible artwork is only one part of the request: size, cut line, material, finish, supply format, and application surface all help define the final result.

Overview
Die-cutting is not simply a decorative operation. It determines the outer form of a sticker or label and affects how it is handled, packed, presented, peeled, and applied. A round label, logo outline, shaped seal, equipment marker, and panel cutout can all require different planning even when their printed artwork appears similar.
The term die-cut describes the cutting result. It does not, by itself, define adhesive type, print process, material, finish, durability, or application method. Those decisions should be reviewed against the target surface, required information, visual objective, handling conditions, and delivery format.
How die-cutting works
A practical project begins with the intended finished size and use. Artwork is prepared at final scale, then a separate cut path defines the outside edge. Graphics are printed on the selected material, cut to the requested path, and supplied as individual pieces, sheets, or roll labels.
Production communication should separate visible artwork from technical instruction. The print file contains colour, text, barcodes, symbols, and graphics. The cut line is a non-printing path that tells production where the final edge belongs. Keeping these elements distinct helps avoid a finished outline that differs from the approved design.
When a design includes a barcode, warning, serial number, or small text, plan the cut path around that content. Critical information should not sit on a sharp point, a tight curve, or directly at the final edge.
Die-cut vs kiss-cut
Die-cut and kiss-cut stickers can use the same printed design, but they are supplied differently. The choice changes the way a sticker is stored, peeled, presented, and distributed. It should be decided before final artwork and packing are approved.
The cut passes through both the printed sticker and its backing. The complete piece follows the artwork outline. This suits individual branded stickers, custom-shaped labels, promotional pieces, logo shapes, and seals where the outer edge is part of the presentation.
The cut passes through the sticker layer while the backing sheet remains intact. This can suit grouped designs, sticker sheets, retail packs, product inserts, and situations where a larger backing area makes peeling or storage easier.
Ask how the recipient will receive, store, peel, and apply the sticker. Die-cut often suits standalone presentation. Kiss-cut often suits grouped designs and shared backing sheets.
Shape planning
Die-cutting offers more freedom than standard rectangles and circles, but the final shape must still be practical for the artwork and application. Curves, corners, small gaps, narrow points, and thin extensions should be reviewed in relation to product surface and handling.
Circles, ovals, squares, rectangles, and rounded-corner labels are useful for packaging, seals, and repeat applications. They can fit fixed label areas while keeping suitable margins around readable information.
A contour can follow a logo, illustration, mascot, icon, or badge. This creates a distinctive silhouette, but the line should remain recognisable and manufacturable at the proposed dimensions.
Materials and finishes
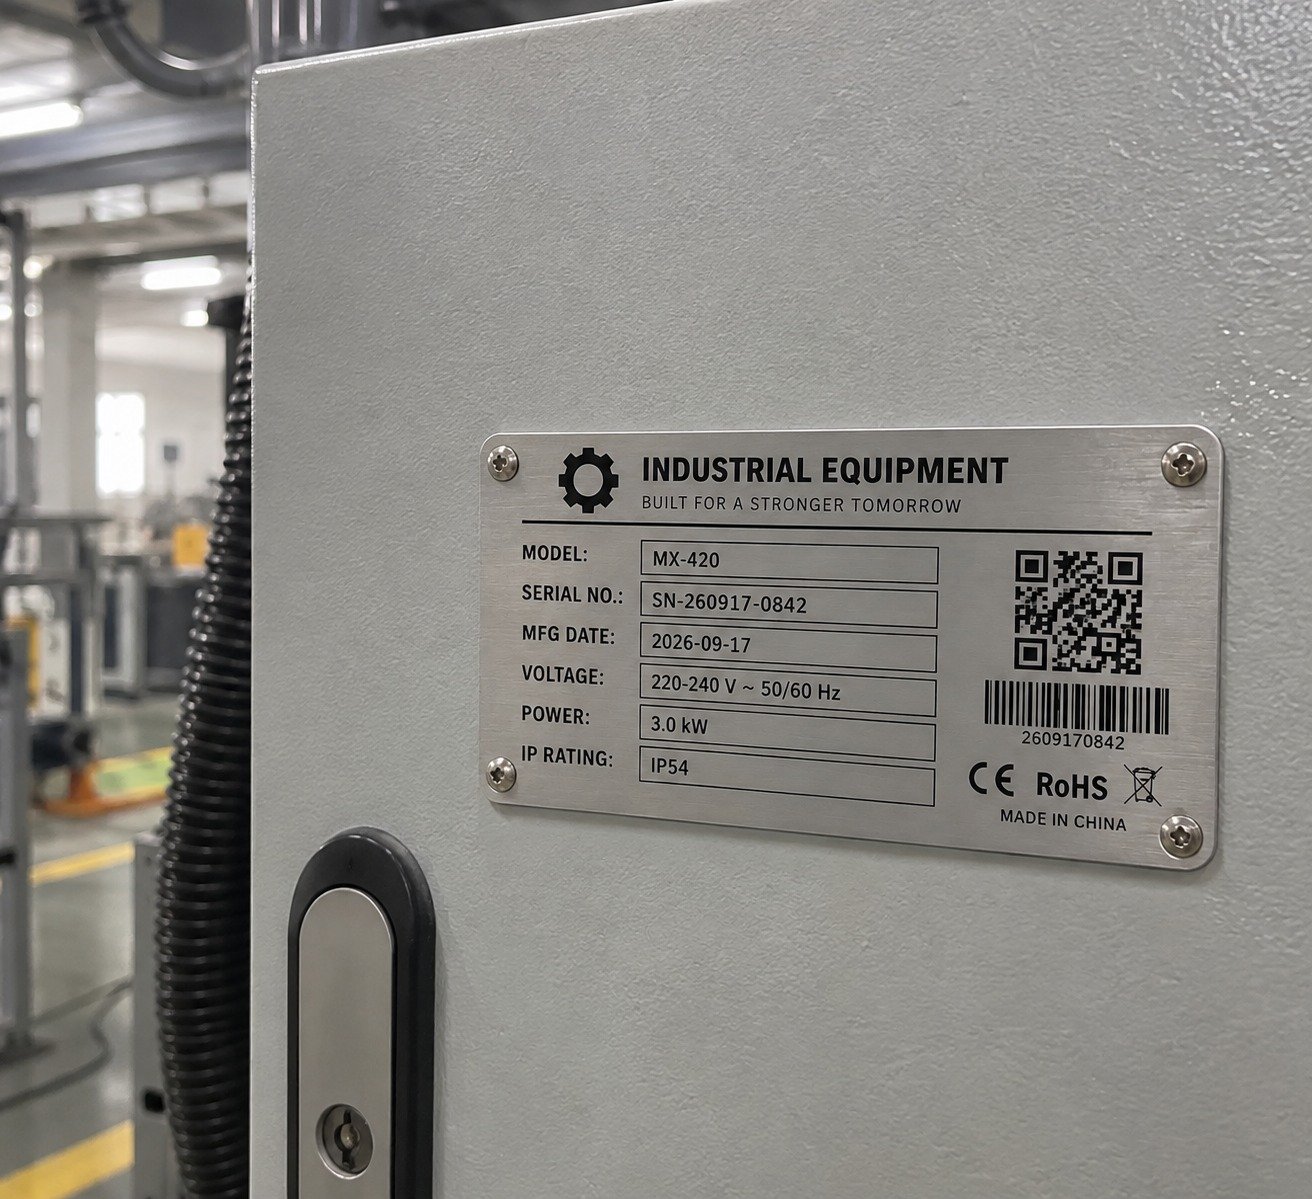
For flexible sticker and label applications where surface, handling, and appearance need review.
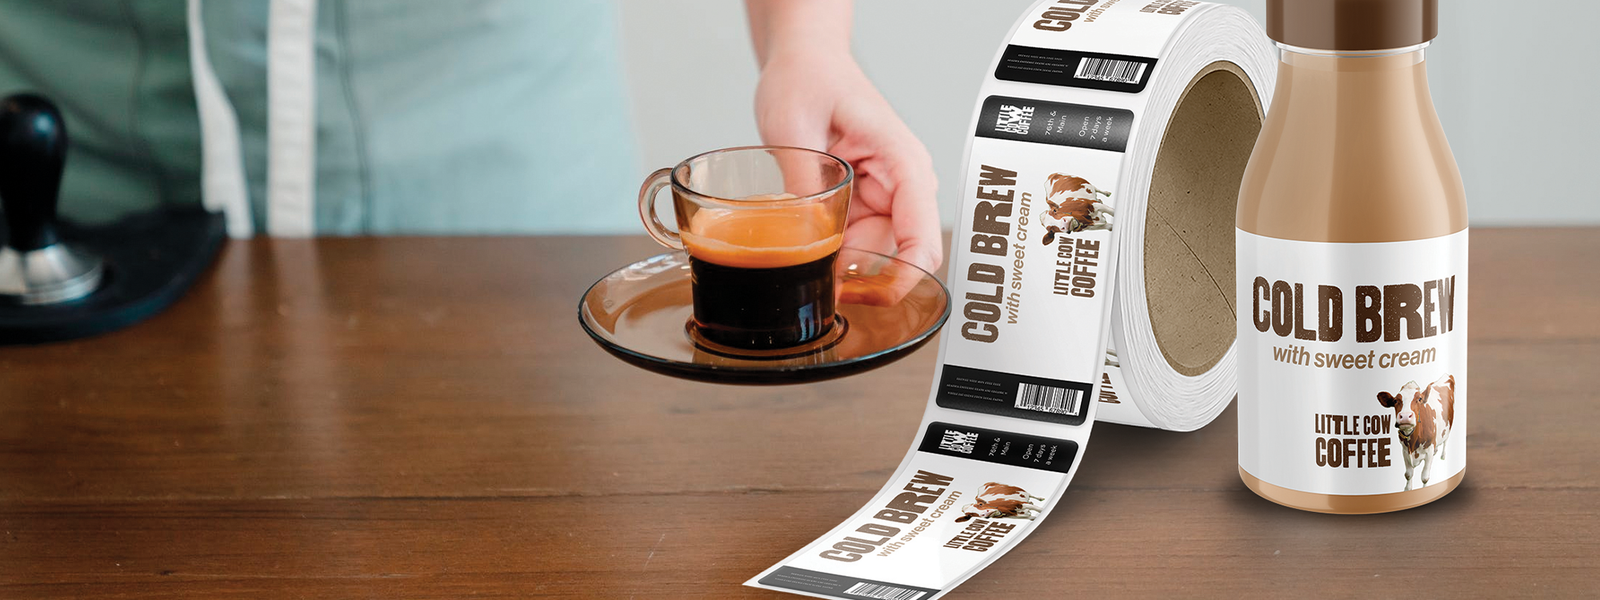
For product and identification labels where environment, information, adhesion, and finish matter.

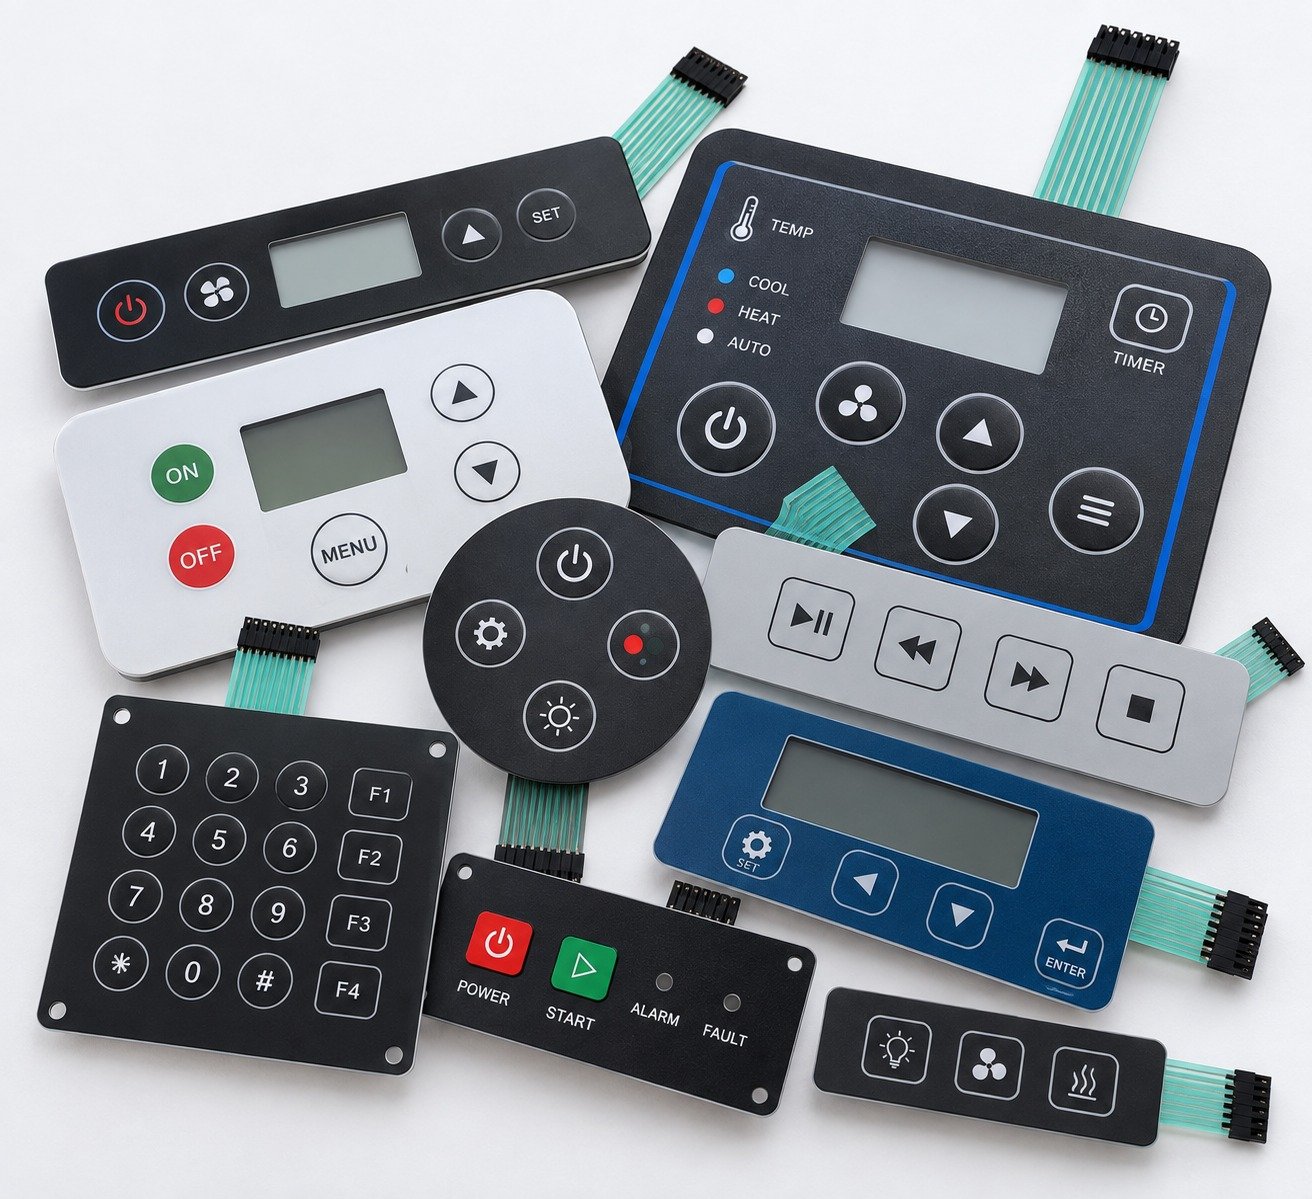
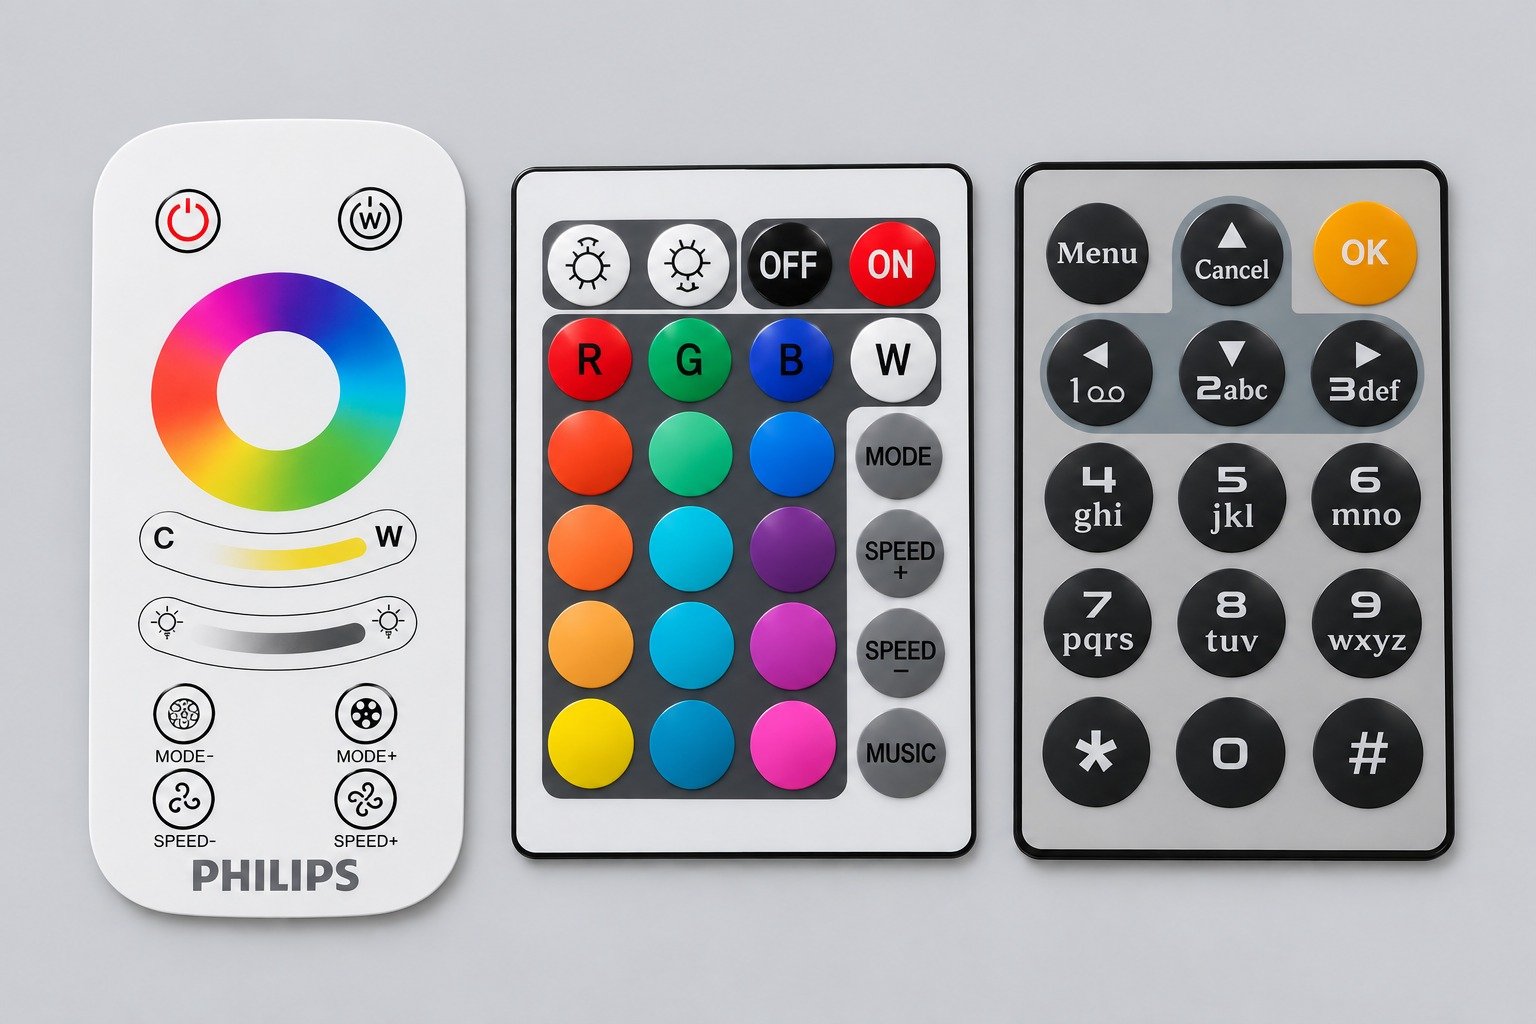
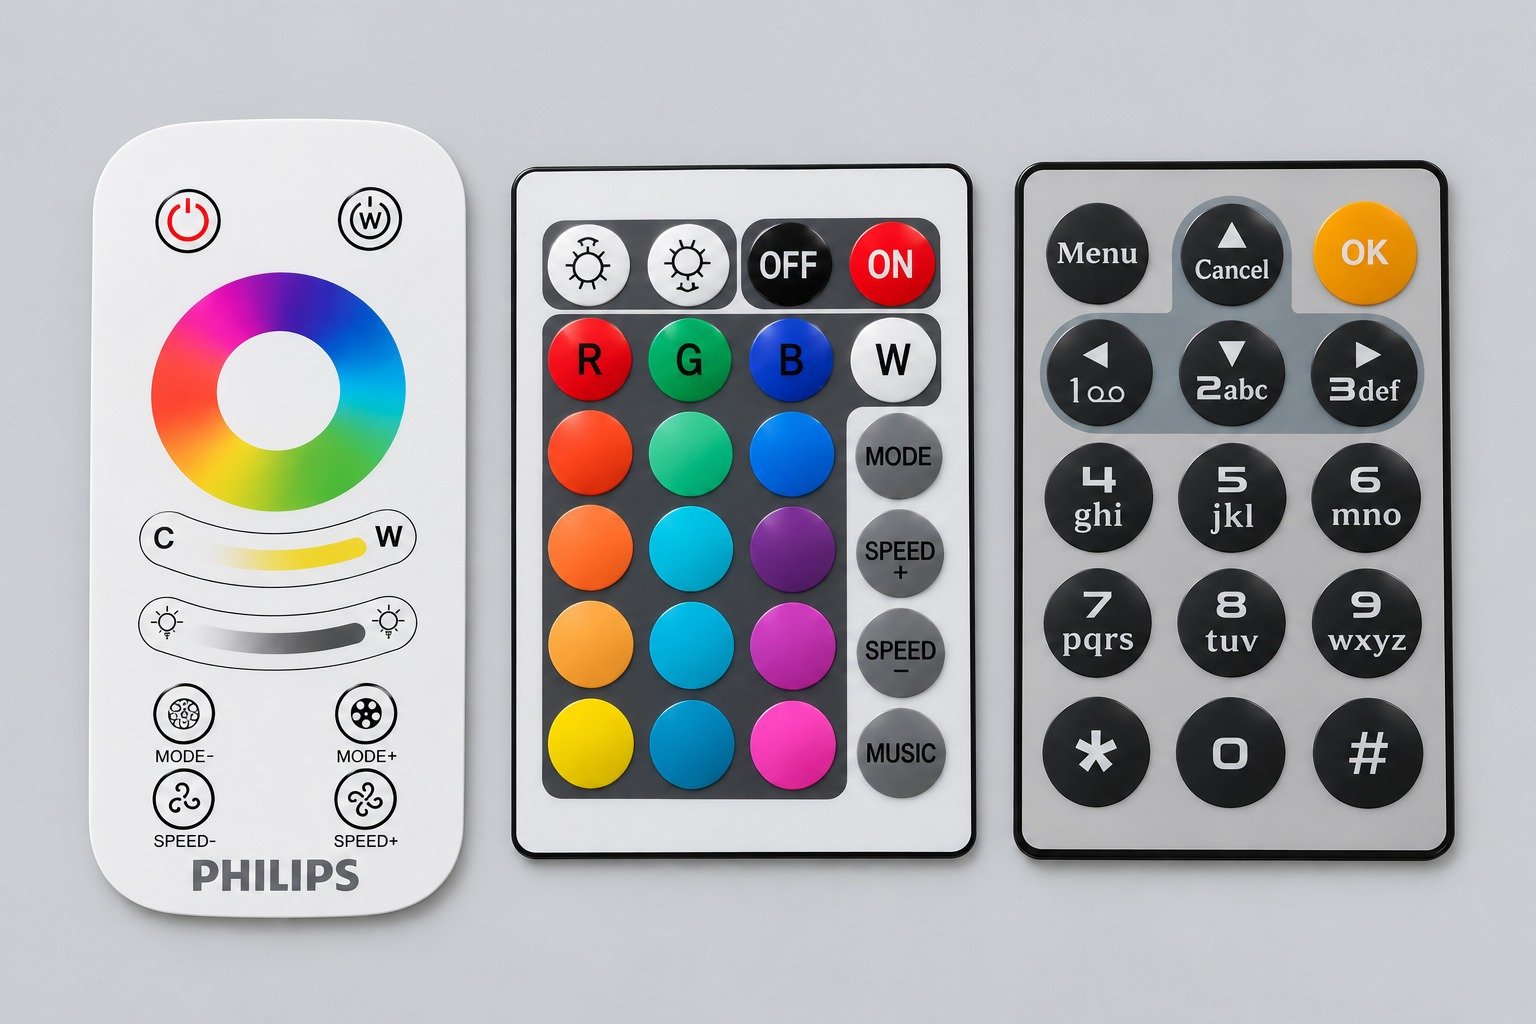
For overlay and panel-related graphics where cutouts, windows, enclosure fit, and surface treatment are relevant.
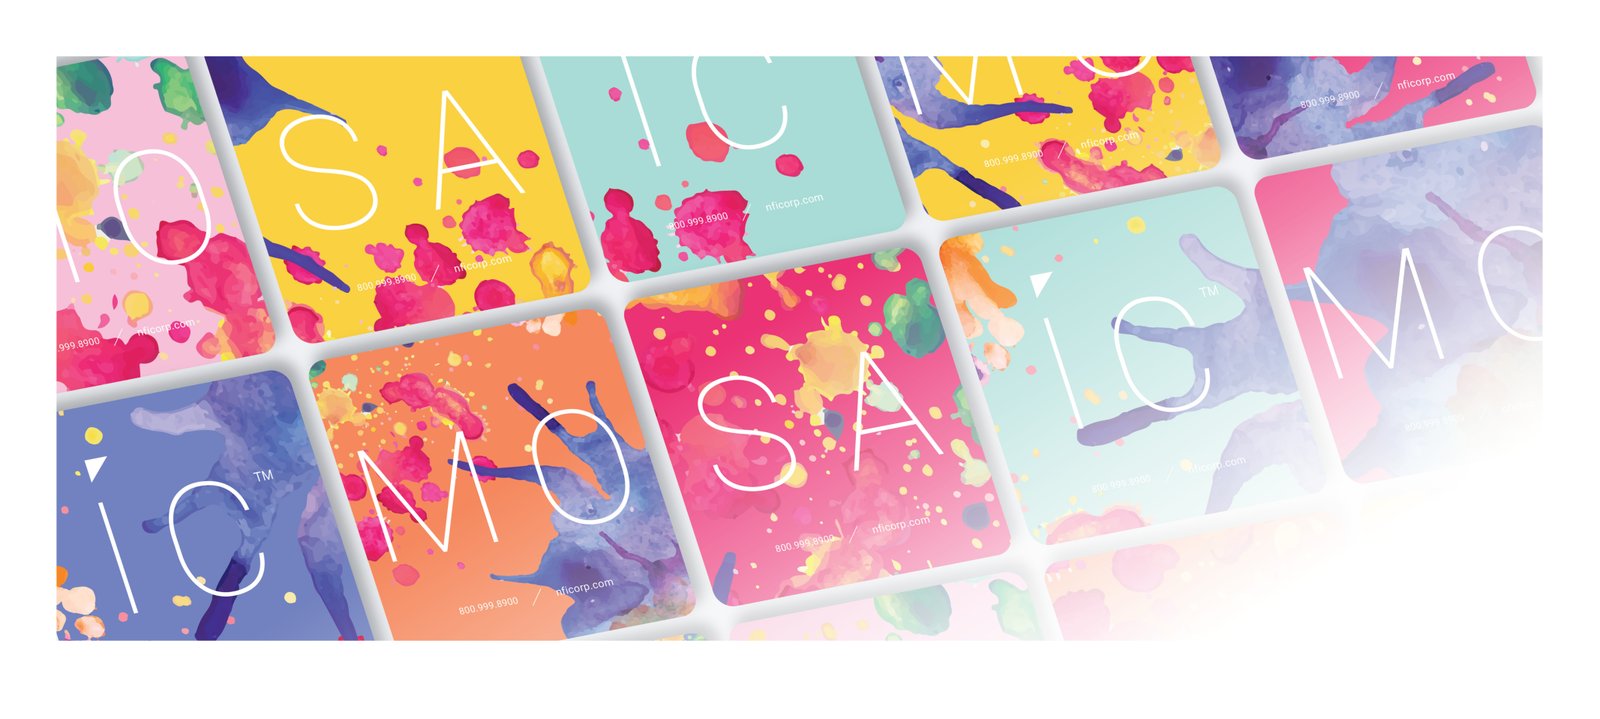
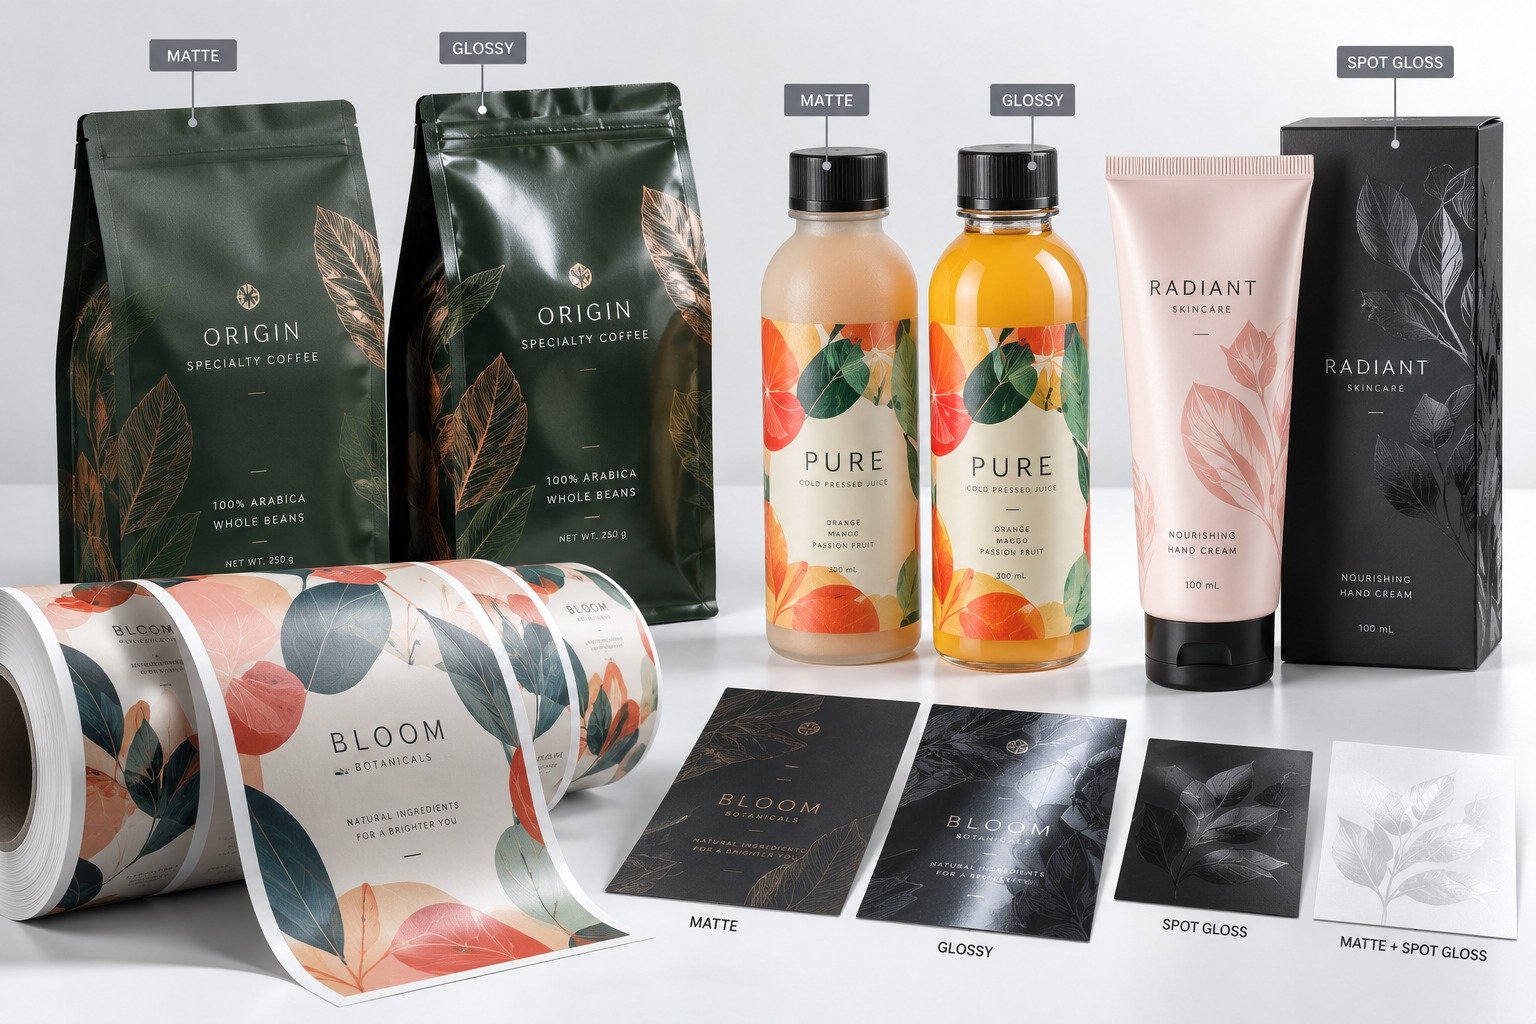
Matte, glossy, laminated, UV, embossed, metallic, and foil finishes should support a clear visual goal.
Material and finish are separate from the cutting method. A clear brief identifies the target surface, application environment, handling level, information density, visual objective, and required delivery format before a construction is recommended.
Design options
The outside shape can do practical work for the brand. A soft rounded rectangle can feel neat and compact on a product package. A circle or oval can support seals and badges. A close contour can make a logo or illustration instantly recognisable when the sticker is handed out, included in a retail pack, or applied to a visible product surface.
Good die-cut artwork balances that personality with readability. The viewer should understand the label, sticker, or badge before noticing the technical detail of the cut line. A complex outline is not automatically better. At a small scale, a simple silhouette with well-spaced type, consistent margins, and clear product information can look more intentional than a highly detailed contour.
A promotional sticker may be viewed at arm’s length and handled individually. A product label may be seen on a shelf or a curved package. An equipment marker may need to be read close-up and remain clear around data, symbols, or a barcode. The final viewing distance and location can influence text size, contrast, finish, and the amount of shape detail that is useful.
Place the most important brand element, product name, code, or safety message where the shape provides a calm visual area. Use the outer contour to frame the content, not to crowd it. If the sticker has an icon, logo, or mascot, the outline can echo that form while the central area remains stable enough for readable text.
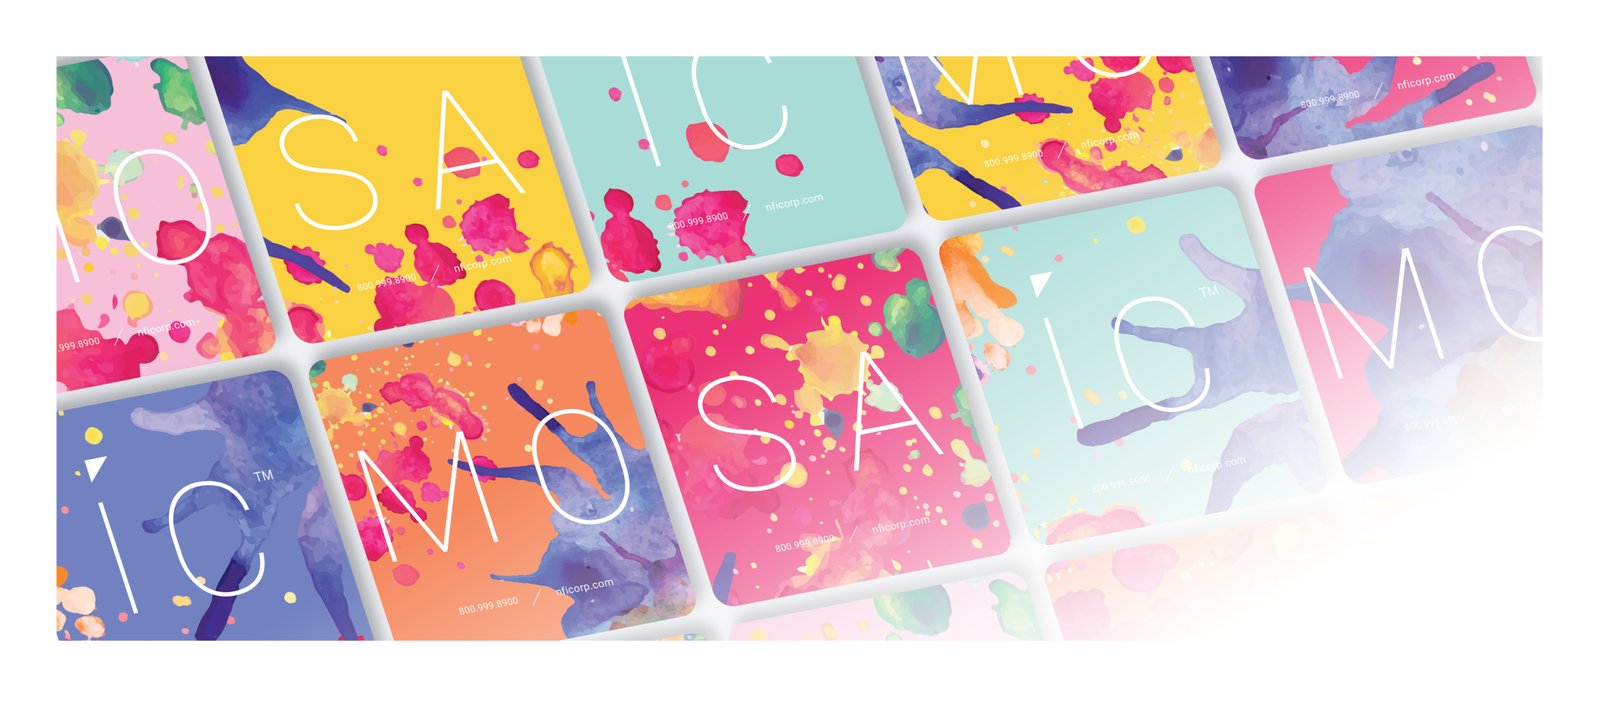
When several products share one visual system, consistent cut rules can make a range feel organised. For example, one label family may use the same corner radius, badge shape, or safe-area system across multiple sizes. Individual products can still have different colours, variable data, or content while the range keeps a recognisable physical format.
Supply formats
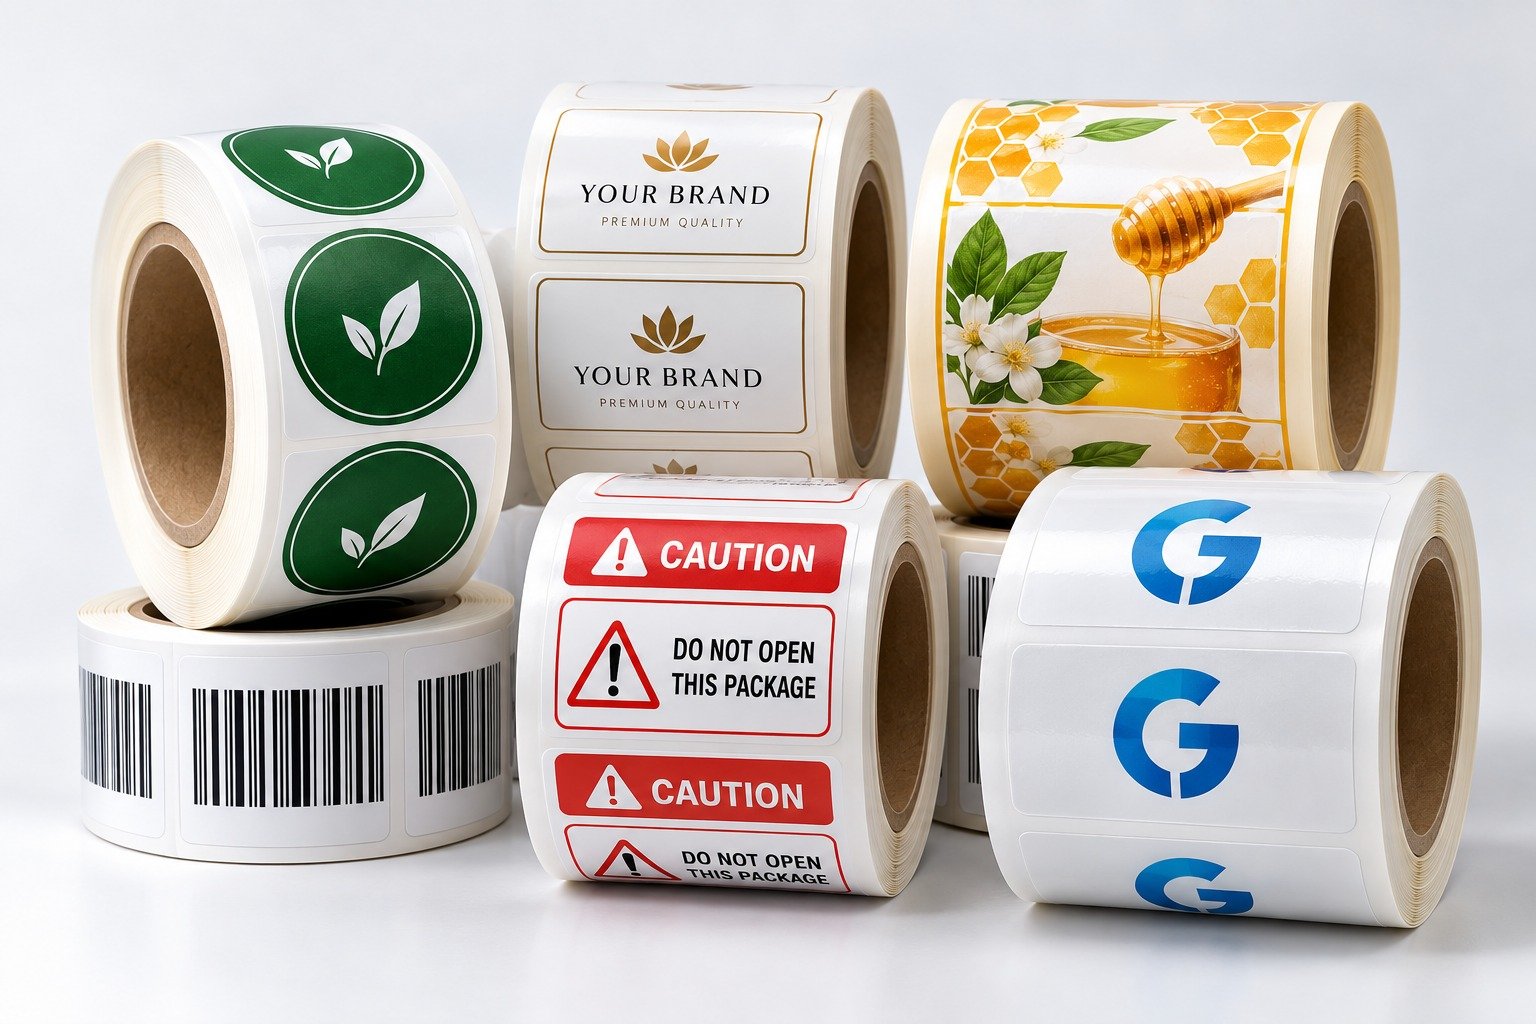
The same design may need a different supply format depending on how it will be handled after printing. A branded giveaway, packaging label, retail insert, and organised roll-label workflow can all use a custom cut line, but they require different packing and application decisions.
Useful when each sticker is distributed, packed, or applied as a standalone piece. The outer edge follows the artwork, logo, or contour.
Sheets group multiple designs or repeated stickers on a shared backing format. Individual designs may be kiss-cut while the outer sheet has its own defined edge.
Roll labels can use defined shapes for organised handling and suitable application workflows. Clarify label direction, spacing, core, roll format, and application method in the brief.
Cut lines, bleed, and safe areas
The cut line is the technical path that defines the final outside edge of a sticker or label. It is not a visible printed element. A good artwork file keeps the cut path separate from the printed design, identifies its purpose clearly, and uses a simple contour where the requested finished size makes fine details difficult to reproduce.
For artwork that prints to the edge, the graphic usually extends beyond the final cut line. This extension is called bleed. It provides a margin for normal print-and-cut variation so a tiny shift does not create a visible unprinted edge. Bleed is particularly important for full-colour backgrounds, photographs, dark borders, and graphics that continue to the edge.
A safe area is the space between important content and the final cutting edge. Product names, legal copy, safety symbols, serial numbers, barcodes, QR codes, and small logos should not rely on an extremely tight margin. This is especially important for custom contours, small labels, curved edges, and shapes with narrow points.
Very small internal holes, sharp inside corners, or hairline extensions can be difficult to hold at a tiny finished size. Simplifying an outline does not mean losing brand character; it helps preserve a clean, readable shape after production and application. A physical sample or full-scale proof is useful when the contour is critical to the product appearance.
Material selection
A custom cut line only describes the shape. The printed construction still needs to suit the target surface and how the item will be used. A label for a dry carton, a promotional sticker, a curved bottle, a control-panel graphic, and an outdoor identification plate can require different material, adhesive, finish, and information choices.
Start with the surface: paperboard, plastic, glass, metal, painted equipment, a pouch, or another substrate. Then consider whether a person applies the item by hand, whether a roll is needed for a process, whether the surface is curved or recessed, and whether the label must align to a defined position.
Storage, moisture, abrasion, cleaning, sunlight, temperature, and frequent handling can influence the suitable material direction and finish. Do not assume that a visually similar sticker will perform the same way on every product. The intended environment should be part of the initial conversation.
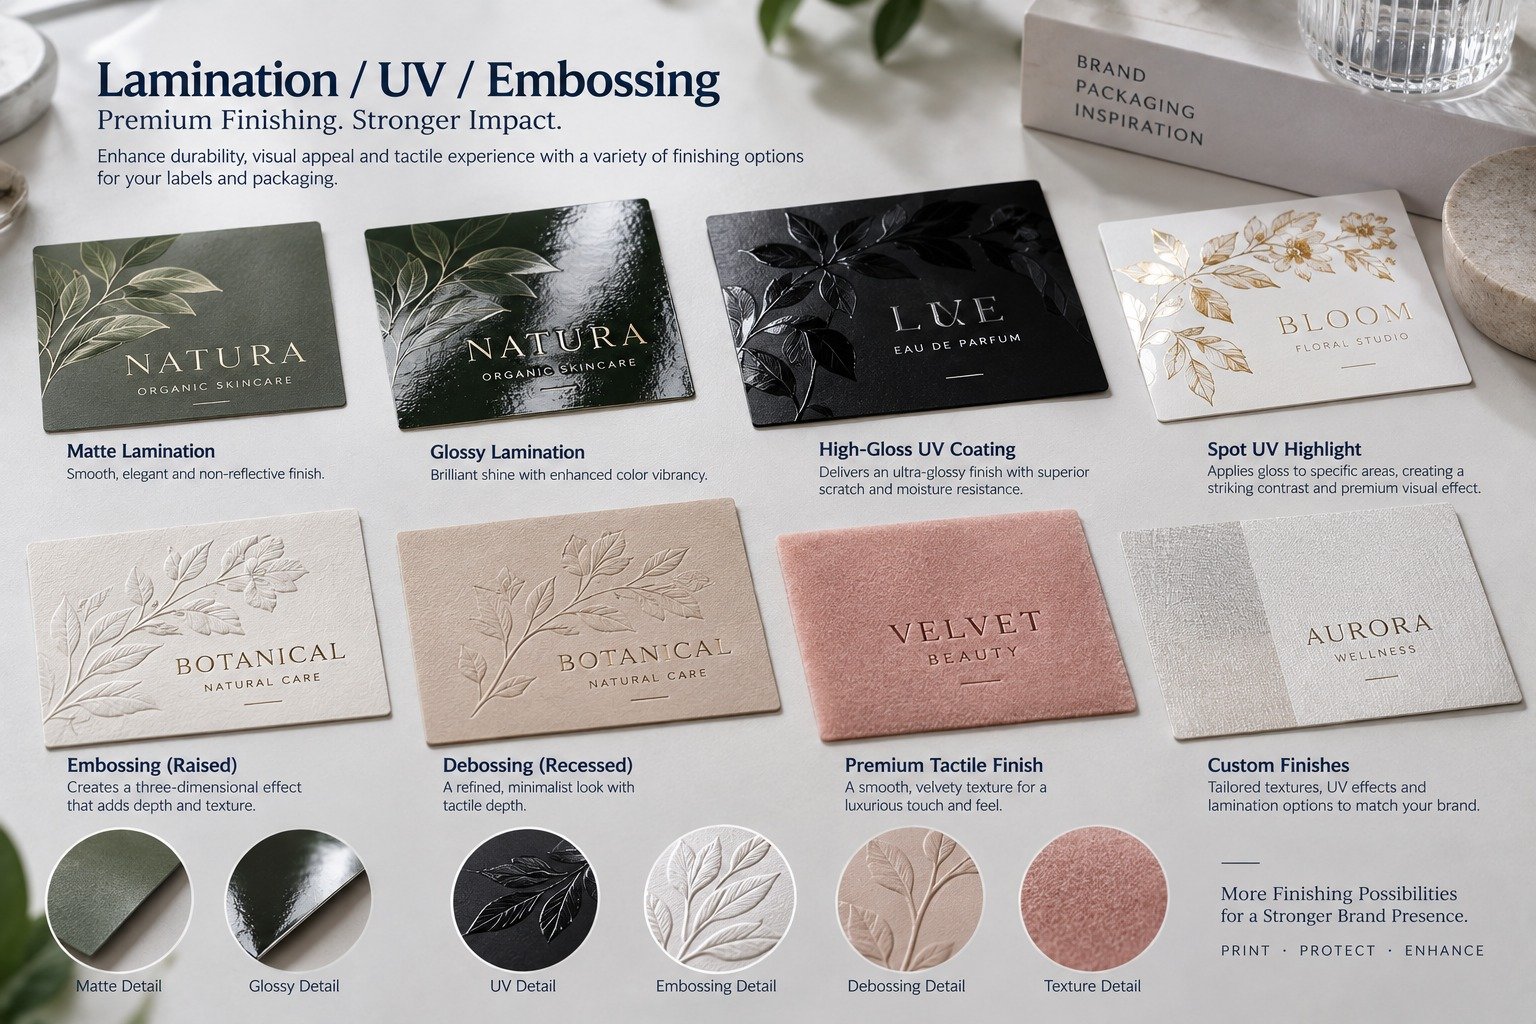
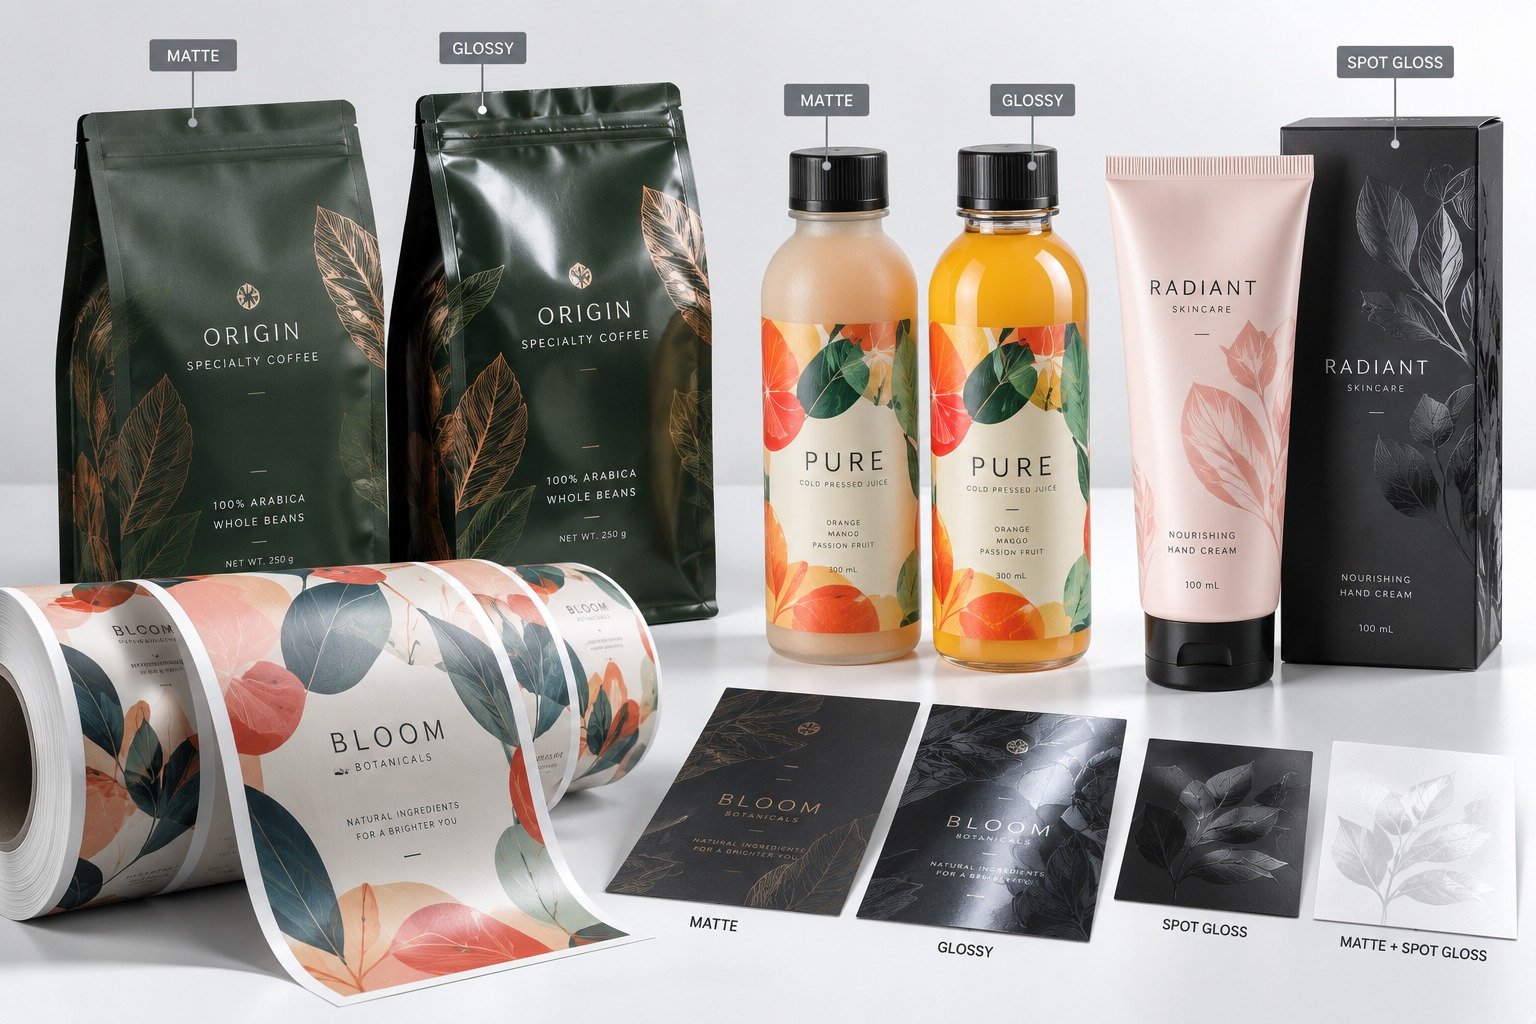
Matte can reduce glare, while glossy can support a brighter surface presentation. Lamination, UV treatment, embossing, metallic accents, and foil effects are additional choices. They should reinforce a visual or functional goal rather than be selected only because they look premium in a digital mock-up.
For a useful material discussion, share the product photo or drawing, target surface, expected handling, required print content, visual reference, and quantity. That context is more valuable than a material name on its own.
Artwork preparation
Clear artwork reduces uncertainty before production. A production team needs to understand the intended printed area, final dimensions, cut path, cut depth, backing format, material direction, product information, and variable-data requirements.
State the finished width and height, or provide a controlled drawing. Where artwork reaches the edge, use a suitable bleed area to help prevent visible unprinted edges. Keep important text, barcodes, safety symbols, and logos inside a safe area.
The cut path should be separate from visible artwork and should identify die-cut, kiss-cut, or sheet format. Avoid overly narrow details, critical content too close to the edge, or shapes that conflict with the application surface.

Applications
Shapes can match bottles, jars, pouches, boxes, containers, and branded package panels.
Logo-shaped stickers, event pieces, inserts, and giveaways can use distinctive contours.
Labels can be planned around jars, bottles, tubes, gift sets, and premium packaging.

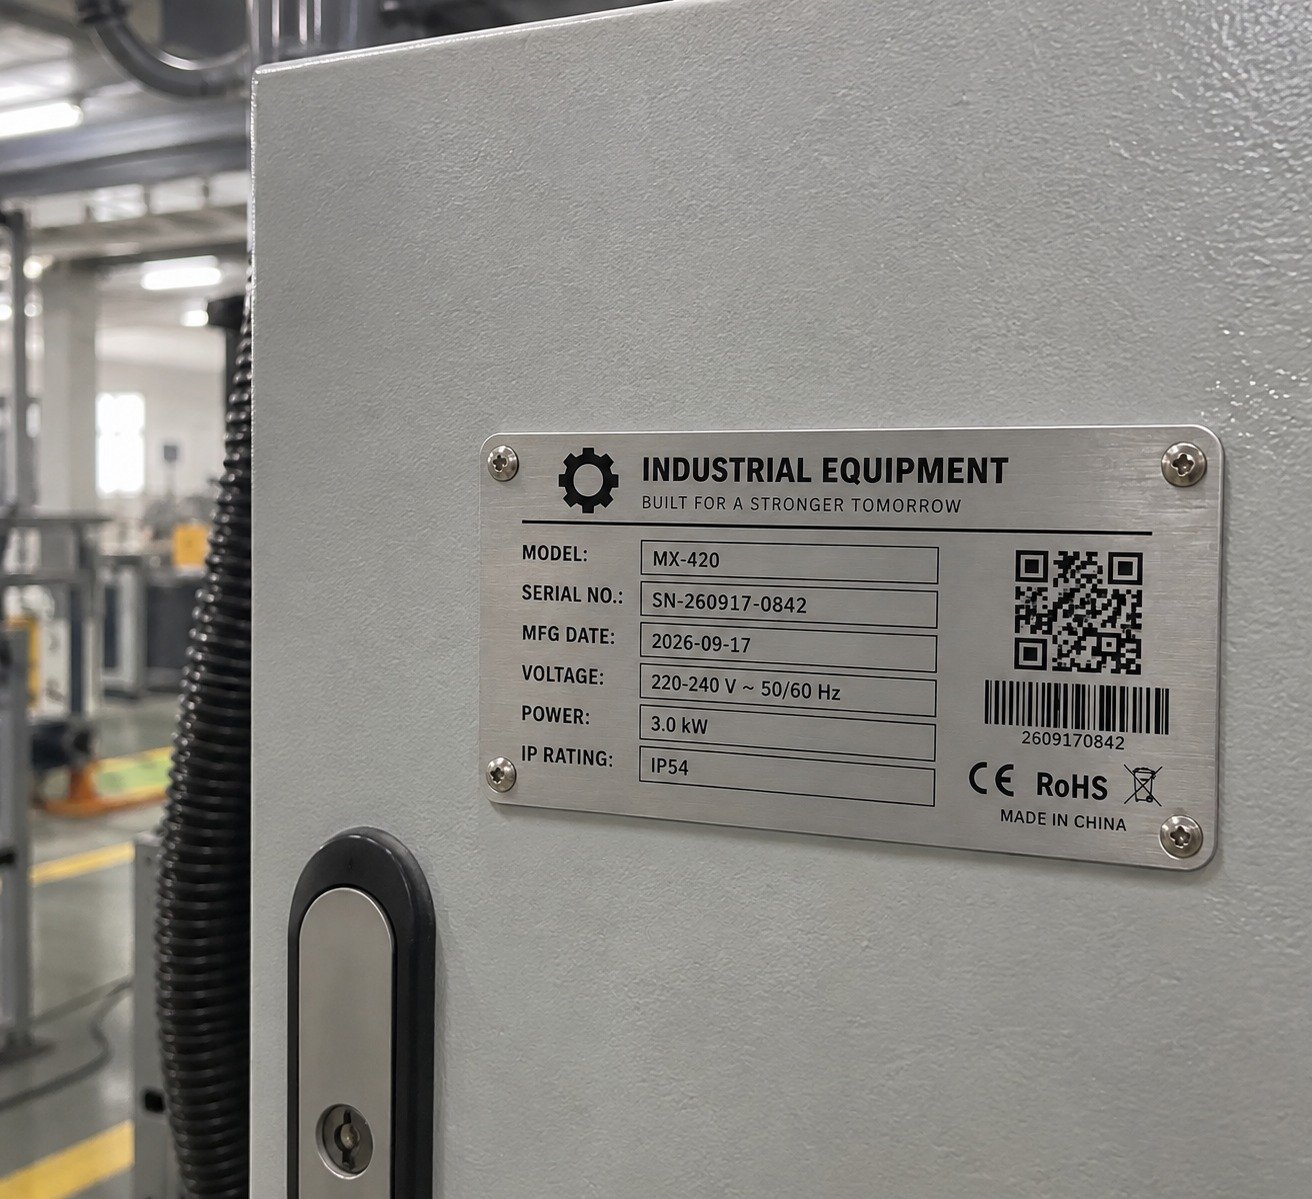
Barcode, warning, serial, and identification labels can fit defined product areas.
For each application, share the product surface, application position, dimensions, required information, artwork, and operating context. A custom shape is only useful when it also fits the intended product and workflow.
Buyer guide
A useful selection process connects purpose, shape, material, finish, format, and application surface. Avoid treating any one choice in isolation: a graphic that works on a flat carton may need a different construction for a curved bottle, an equipment panel, or a promotional sheet.
A quote can be more relevant when the buyer supplies artwork, final dimensions, cut type, material direction, finish, quantity, format, packing requirement, and product or surface reference.


Quality and common issues
Most die-cutting issues begin before a press or cutting tool is used. A project may look simple in a screen mock-up while still requiring decisions about cutting depth, backing format, safe margins, product fit, supplied data, and finished handling. Treat the cut line as a production requirement, not as an afterthought.
Confusing die-cut with kiss-cut can lead to a result that is technically correct but inconvenient for the intended use. Confirm whether the recipient needs a standalone piece, a grouped sheet, or a roll. Make the required backing format part of the approved specification.
Text, codes, warning symbols, and variable data can become harder to use when placed too close to a curved edge or within an overly small label. Keep critical content inside the safe area and validate that the final size supports the information density.
Use bleed for designs that print to the edge, and keep the cut line separate from the visible artwork. A clearly controlled file helps reduce ambiguity between the printed graphic, final shape, and any non-printing production instructions.
A contour that looks effective on a flat render may not fit a curved container, recessed panel, seam, textured surface, or product edge. Include a photograph, dimensions, or physical reference whenever fit is important.
Quotation and project brief
A good quotation request does more than list a quantity. It connects the intended use to the finished shape, material direction, print content, supply format, and application method. The more clearly the buyer defines the project, the easier it is to discuss an appropriate construction and avoid revisions later.
Where an item carries a barcode, serial number, variable data, warning text, or a regulated statement, supply the approved content and readability requirements. Where product fit is critical, a drawing, sample, or full-scale artwork proof helps clarify the discussion before production release.
Timelines depend on artwork readiness, specification clarity, material direction, sample requirements, and the scale of the order. A focused project brief lets these practical questions be reviewed in the right order.
Frequently asked questions
It is the step that cuts a printed sticker or label into its finished defined shape. For a die-cut sticker, the cut passes through the printed face material and backing, so the complete piece follows its external outline.
Die-cut stickers are cut through the sticker and backing as individual pieces. Kiss-cut stickers are cut through the sticker layer only and stay on a larger backing sheet. The better choice depends on presentation, peeling, storage, and distribution.
Yes. A cut line can follow a logo, illustration, icon, badge, circle, oval, seal, or custom contour. Small details, narrow extensions, sharp corners, and content close to the edge should be reviewed at final size.
Yes. Roll labels can use defined outer shapes. Share label size, application direction, surface, quantity, roll format, spacing, artwork, and application method so the supply format can be discussed properly.
Provide print-ready artwork, final dimensions, a separate cut line, bleed where needed, safe areas for key text and codes, cut type, material, finish, quantity, format, and application details.
Share purpose, artwork, finished width and height, cut line, die-cut or kiss-cut preference, material direction, finish, quantity, individual, sheet, or roll format, packing needs, and the target surface.
Conclusion
Die-cutting creates the final shape of a sticker or label. The best result begins with a clear understanding of the product purpose, cut type, supply format, material, finish, application surface, and print-ready artwork.
StikTec supports custom die-cut stickers, pressure-sensitive labels, roll labels, sticker sheets, metallic and foil stickers, laminated stickers, waterproof labels, and custom sticker printing. Share your artwork, dimensions, cut line, material, finish, quantity, format, and application details for a project-specific discussion.
Published:

Project inquiry
Send your artwork, final dimensions, cut line, quantity, material preference, supply format, target surface, and application conditions. The form keeps the request focused so the right information can be reviewed first.
More articles

Understand face material, adhesive, release liner, formats, and common product uses.
Compare foil, metallic surfaces, artwork planning, and premium packaging effects.
Explore custom label formats, material directions, and product options.